Choose one clear relationship
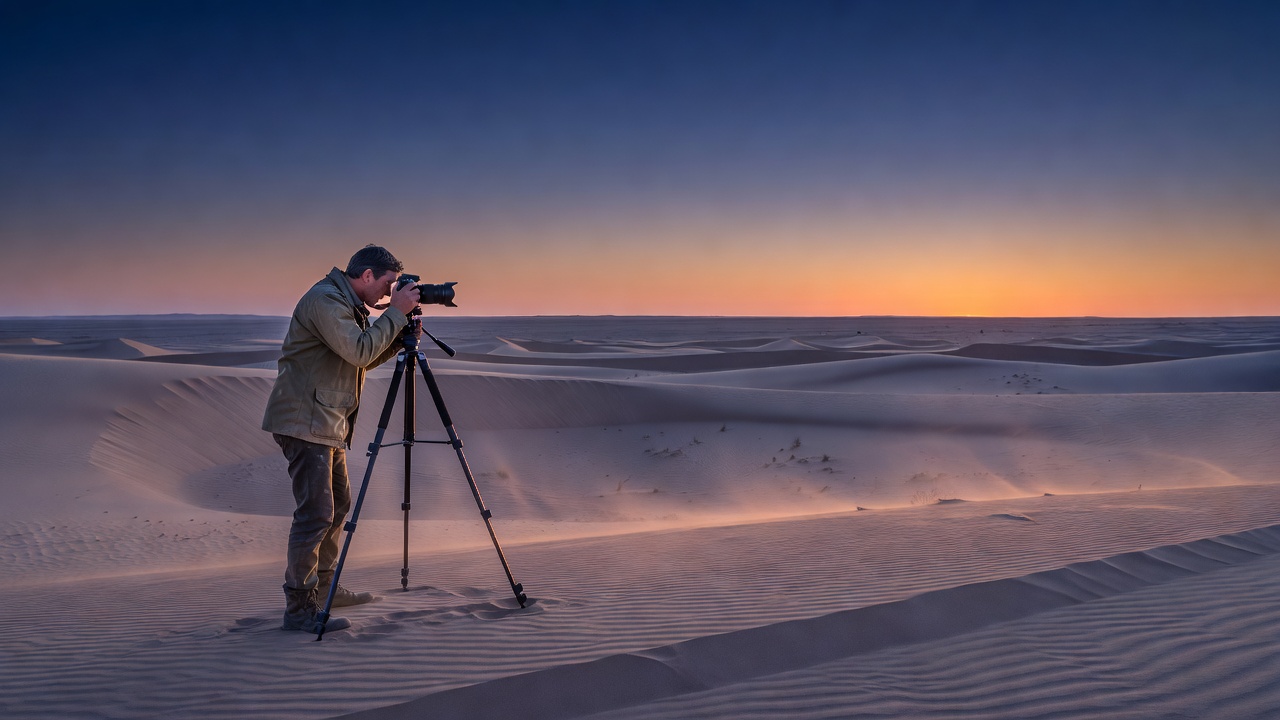
Minimalism is not a requirement to include only one object. It is a way of making the important relationship easy to read. A cactus and its shadow, a dune and the horizon, or a pale wash beneath a dark ridge may be enough. Say the relationship to yourself before making the frame. If your description needs a long list of unrelated features, the picture may still be undecided. Simplify through viewpoint and timing rather than assuming a severe crop will solve every problem later.
Let negative space have a job
Open sky and bare ground can create direction, balance or a pause. They are most useful when their proportions respond to the subject. Space above a low ridge can suggest openness; space beside a leaning cactus can emphasize its gesture. Compare alternatives rather than automatically placing the horizon on a rule-of-thirds line. Watch the brightest empty area carefully. If it pulls attention away from the intended subject, its size, tone or position may need to change. Emptiness still has visual weight.
Work from position to settings
Choose a safe, permitted position first. Then choose a focal length for the framing you want, remembering that camera position determines perspective. Moving farther away and using a longer lens changes the relationship between near and distant features compared with standing close. Once the arrangement works, choose an aperture for the depth you need and a shutter speed for camera stability and subject movement. Set ISO to support those decisions. A clean, intentional frame matters more than using the lowest possible ISO at any cost.
Match the light to the idea
Early and late sunlight often gives useful side shadows, but warm light is not automatically better. A soft, pale afternoon may suit a restrained print more than a vivid sunset. In high contrast, decide which details are essential before exposing. Protect important bright areas, then inspect whether the shadows retain enough information. Raw capture can offer editing latitude, but it cannot guarantee recovery of clipped highlights. Bracketing is an option for static scenes when you understand the workflow; it is not a substitute for watching changing light.
| Condition | What it offers | What to watch |
|---|---|---|
| Low side light | Relief, long shadows, readable sand | Fast changes and deep shadow areas |
| Soft overcast | Gentle color and restrained contrast | Weak separation between similar forms |
| Backlight | Glowing spines and clear silhouettes | Flare and clipped bright edges |
| High sun | Graphic shapes and hard boundaries | Heat, glare and excessive contrast |
Focus on the depth you actually need
Check the nearest and farthest details that must remain legible, not just the most obvious subject. Magnify the preview if your camera allows it. A distant landscape may need less stopping down than a close cactus with mountains behind it. Focus stacking can help with stationary subjects, but wind, moving shadows and complex edges can introduce errors. For many quiet compositions, changing the camera angle or leaving a distracting foreground out is a simpler, more dependable solution than a complicated capture sequence.
Let a phone work within its strengths
A phone can make compelling photographs in good light, especially when the final print is modest in size. Clean the lens, avoid unnecessary digital zoom and use the highest-quality capture option you understand. Tap to set focus and adjust exposure so pale skies and sand retain detail. Be cautious with simulated background blur around spines and fine branches; the processing can create visible mistakes. Review the original file at useful magnification before deciding how large to print. Device specifications alone do not determine the result.
Plan for the landscape, not just the picture
Heat, distance, limited reception and sudden weather can change an outing quickly. Consult current National Park Service or relevant land-manager information for the place you intend to visit. Carry appropriate water, navigation and sun protection, tell someone your plan, and turn back before conditions become difficult. A photography guide is not a route plan or a guarantee of safety. Avoid washes when flooding is a possibility, obey closures, and never let the last good light become a reason to continue beyond your ability.
Finish with the wall in mind
Editing should clarify the original relationship. Level the horizon when appropriate, remove accidental color casts and compare the image at the aspect ratio you intend to frame. Keep an uncropped original so future formats remain possible. Export according to the printer’s requirements, using its requested color space and profile workflow rather than guessing. A small proof can reveal overly dark shadows, intrusive sharpening or color that looked gentler on screen. The final test is not whether the file looks dramatic, but whether the print holds attention comfortably in its room.